Connection without Using an Access Point (Windows XP)
(Appears in a new window)
-
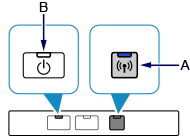
Hold down the Wi-Fi button (A) on the printer until the POWER lamp (B) flashes 3 times, then release the Wi-Fi button after the third flash.
The printer's access point mode will be enabled.
-
Check the SSID and network key of your printer.
Print the LAN setting information and check the SSID and password (network key) fields.
-
How to print the LAN setting information
Hold down the RESUME/CANCEL button on the printer until the POWER lamp flashes 6 times, then release the RESUME/CANCEL button after the sixth flash.
The LAN setting information will be printed.
-
-
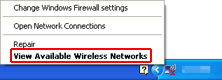
Right-click the Wireless Network Connection icon in the notification area of the taskbar on the computer, then select View Available Wireless Networks.
-
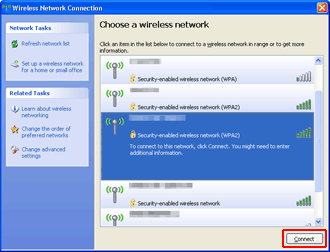
Select the network name (SSID) you want to use, then click Connect.
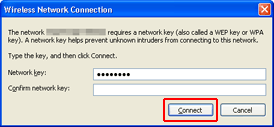
-
Enter the network key, then click Connect.
-
When connection is complete, click Back until the screen below appears.
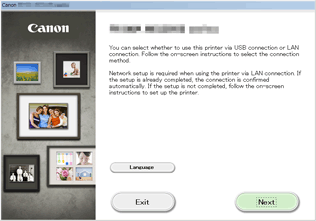
Proceed with the setup.